When I saw that Data Sync 2.4 for OAC was released this morning, I decided to test the data load process to an EssCS cube. I hoped it would be a straightforward process, but – in all honesty – it took me 2 ½ hours to get it up and loading. Below are some of the steps and missteps I took to installing and using Data Sync 2.4…
First, I downloaded the file from: https://t.co/o0eR3HII7x . …That part is straightforward.
I extracted it to my location of choice (full disclosure…I ran into some issues so I changed my extract location a couple times until I figured out the issue. So, if you see different install folders, you will know why!).
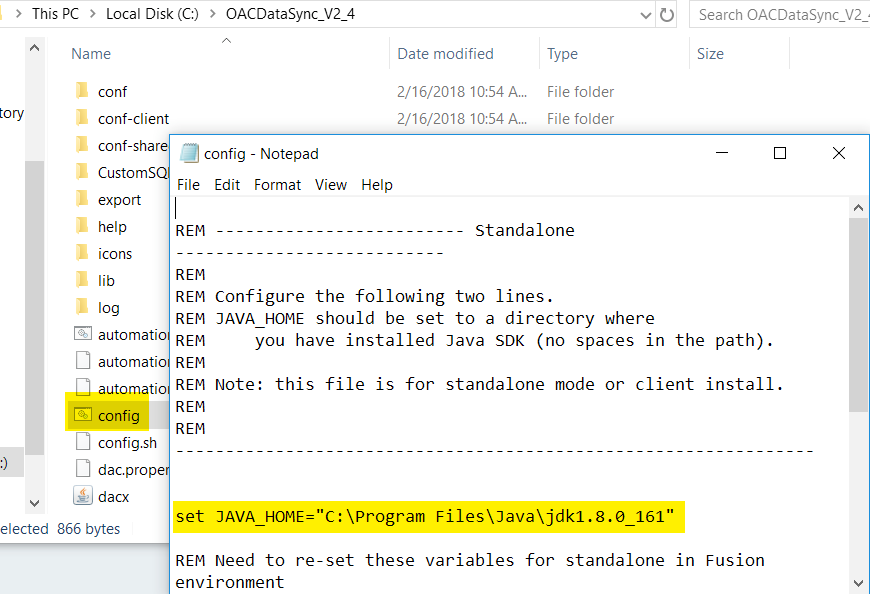
Because my VM was new, I had never set the JAVA_HOME environment variable. Of note, for OAC Data Sync, you must reference the JDK installation. JRE is not going to work!
In the config.bat file, edit the JAVA_HOME to the location you just created in Environment Variables.
Here is where I lost a LOT of time. I could NOT get Data Sync to start! The batch file would close and no Java application would open. I put a pause at the end of the datasync.bat file to see what the errors were… What I got was:
Error: Could not find or load main class com.siebel.analytics.etl.client.view.EtlViewsInitializer Replication
Now, I am no Java expert (a novice’s novice, perhaps, at BEST) so I did a LOT of research. I saw that the Java class could not be found, which is held in a path using the DACCLASSPATH variable.

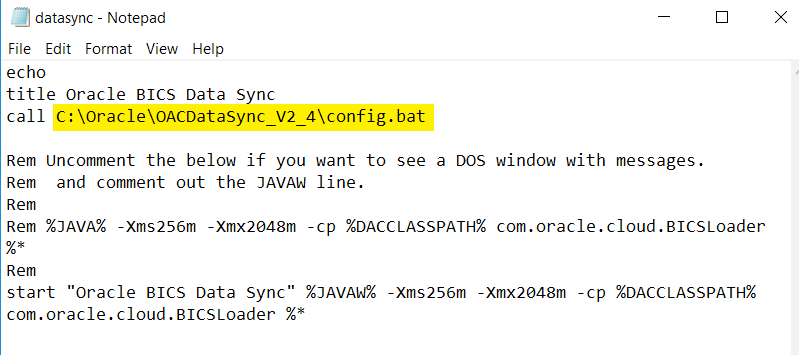
The config.bat file is where the DACCLASSPATH is set.

So I added the full file path:
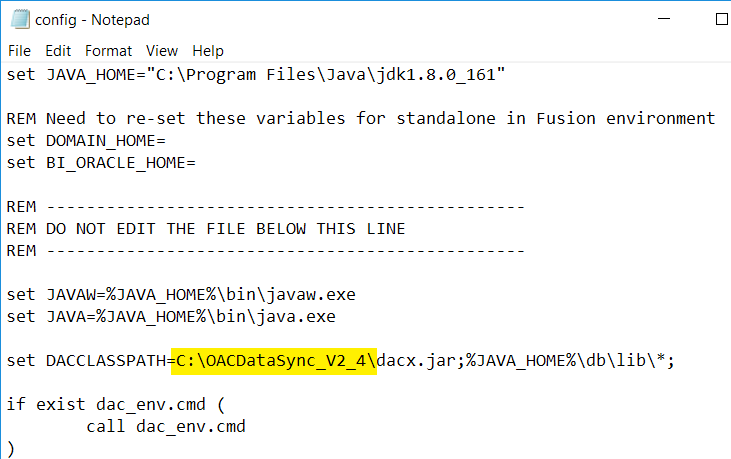
In fact, I added it to every location in each batch script referencing config.bat, like the following:
Once I updated each batch file, I ran the datasync.bat script to create the Data Sync environment.

I missed the screenshot on this one…where you choose between creating a new environment or connecting to a previous one, but I chose to create a new one.
Next, you are asked to create a password for DS:
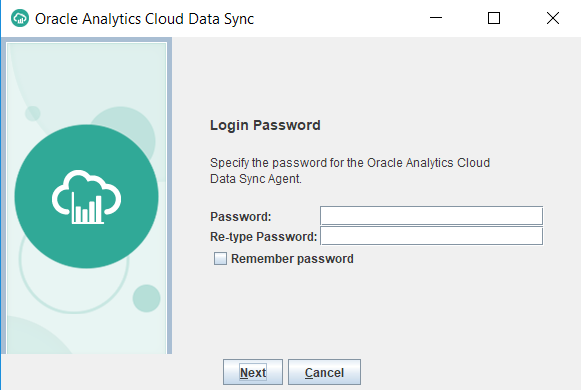
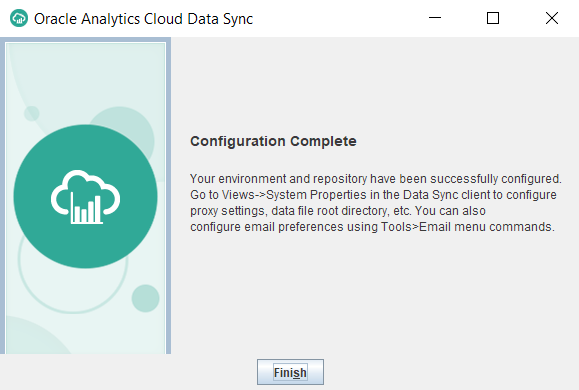
You will wait a few seconds for the files to create before you get an all clear.
Next, you will run datasyncClient.bat to start setting up the actual data synchronizations.

If you chose to save the password earlier, it will be entered for you. Otherwise, enter the password.

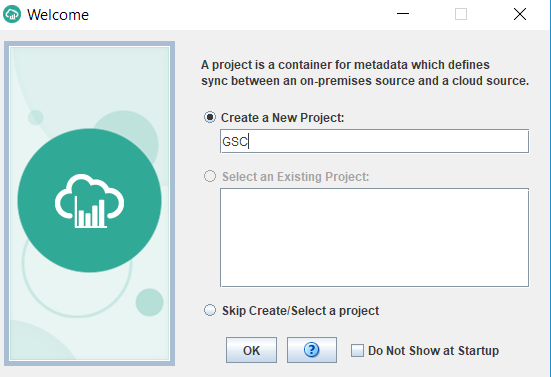
I wanted to create a new Project (data synchronization between an Excel file and EssCS) so I gave it a name:
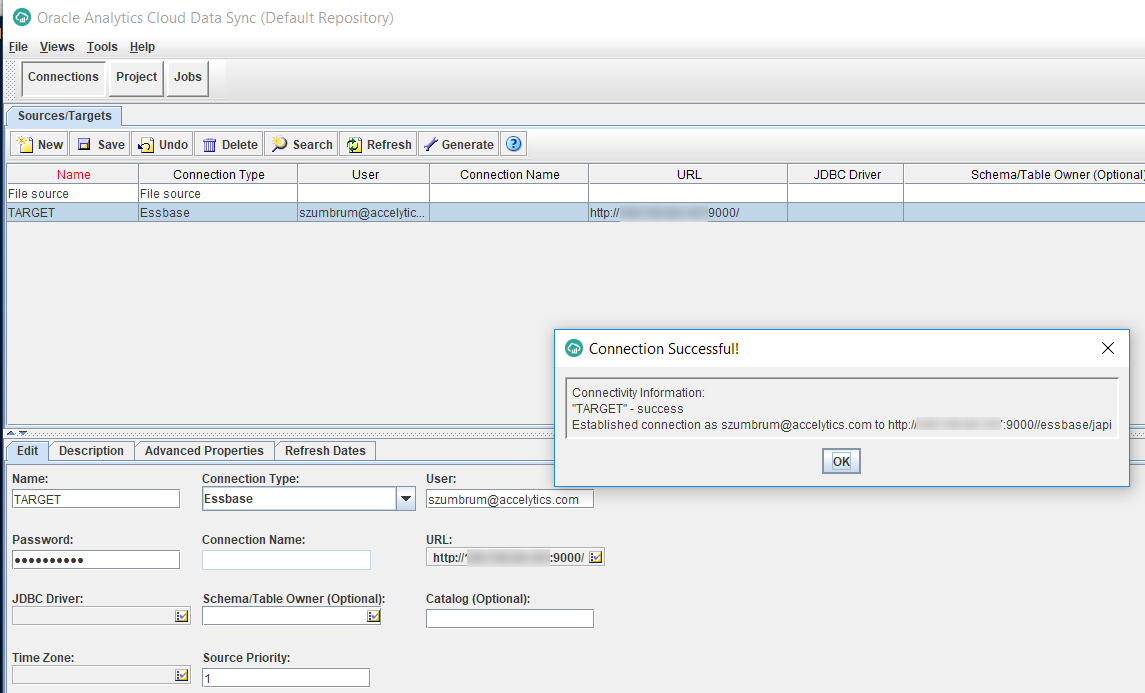
The first thing I needed to do was create my connection to EssCS. Note that the URL is http://ipaddress:9000/

My connection tested successfully, so I’m good to move on.
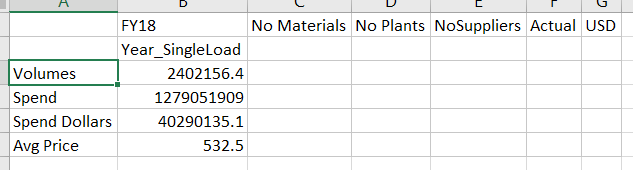
On the Project tab under Source Data, I am choosing Data from Object(s) as it’s an Excel file. So I set the location of my Excel file.

I am testing with just one record so I set the parameters as such:

I created a new “Target” name…aptly “TestLoad”.

Next, it renames my column headers to more relational database friendly names.
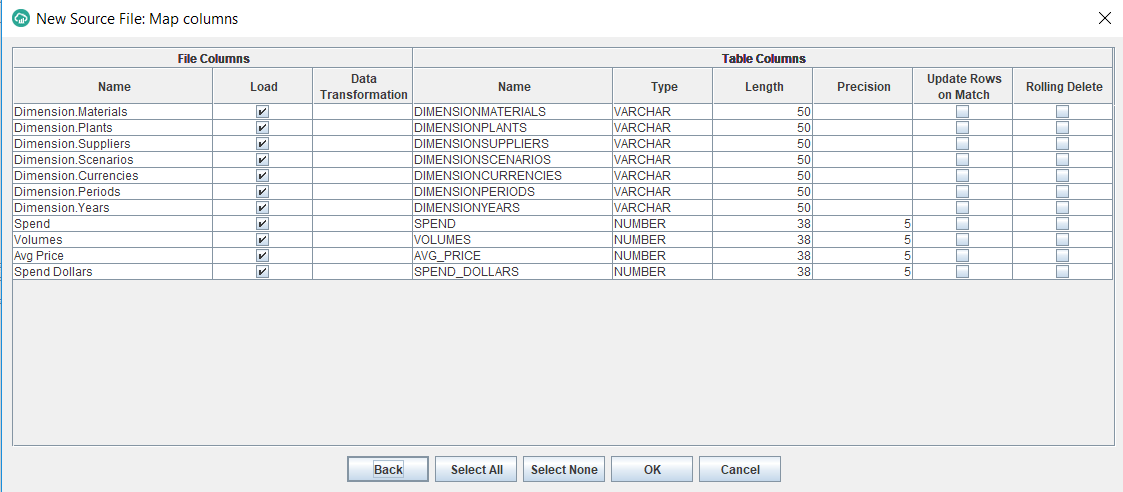
Again, full honesty, while testing why my loads kept failing, I changed my relational column names. Same process though…
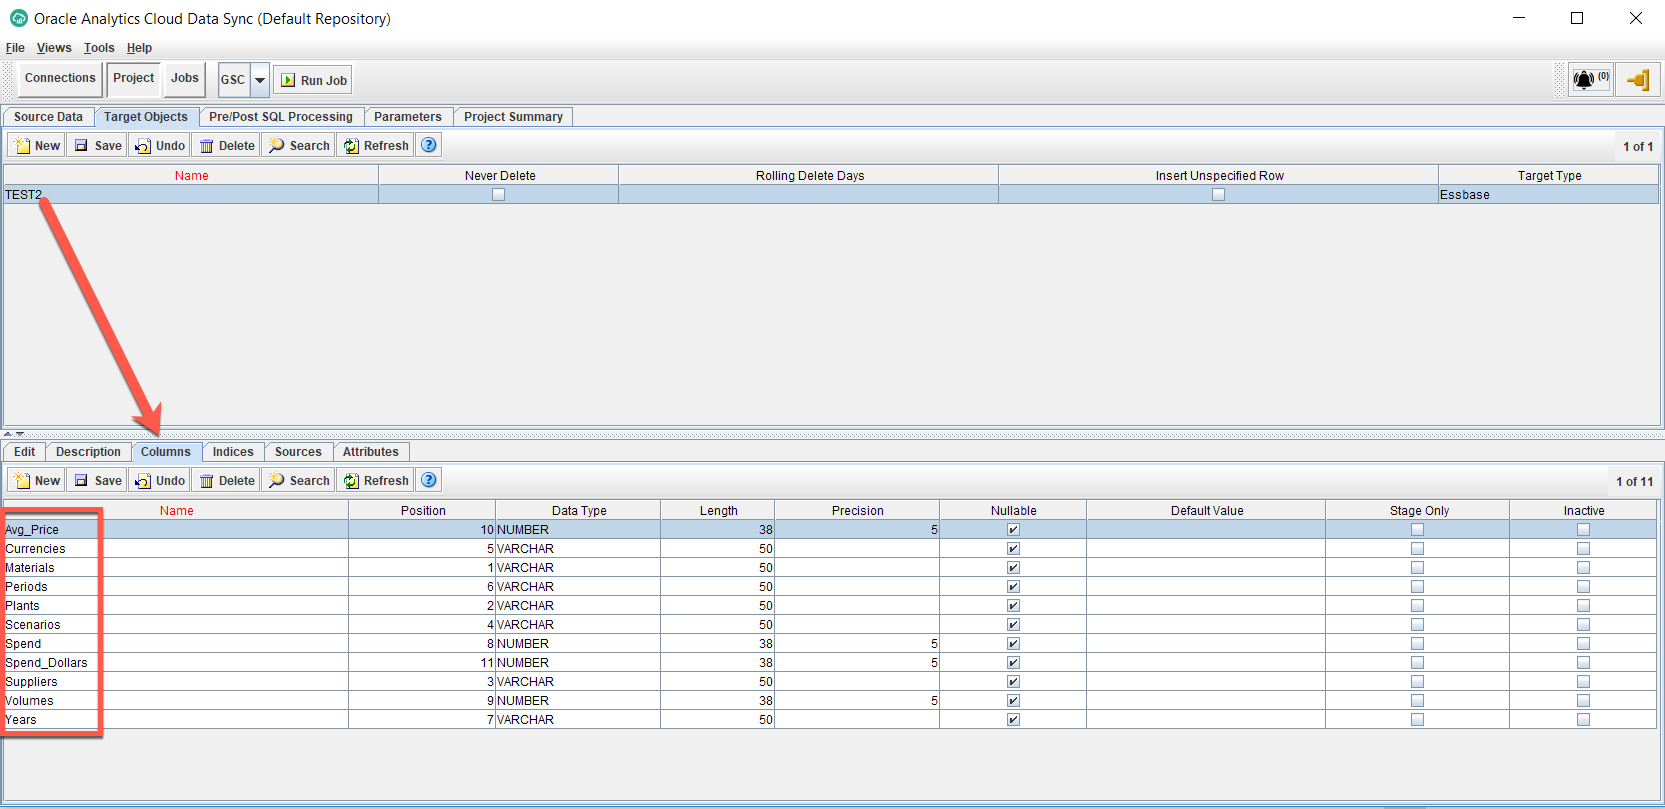
This part is crucial! On the “Target Objects” tab, you need to fill out the requisite details including Application, Cube, and Rules file name. …Correct. The Rules file already has to be created so you can load the data (insert eye rolling, IMHO). You also have to choose between a Dimension Load or Data Load.
OH. And you have to type these values in. They are not in a dynamically generated list for you.

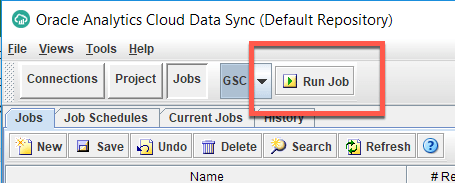
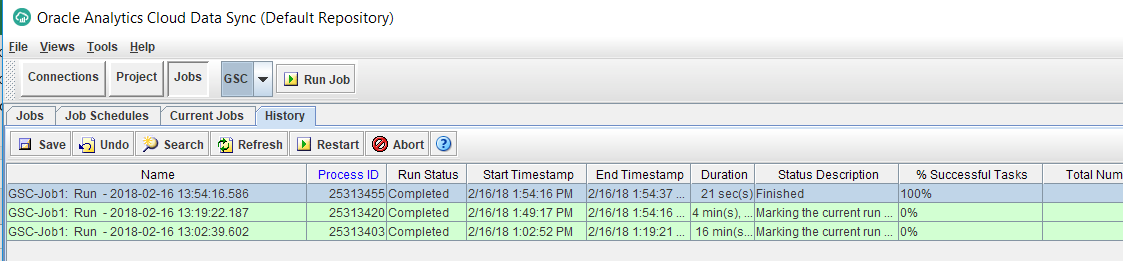
When you have the items entered, click “Run Job” at the top. Note that it took around 10 times for me to be able to get to a successful job run because of various things not mentioned in the (lean) documentation.
The blue line is the successful run.
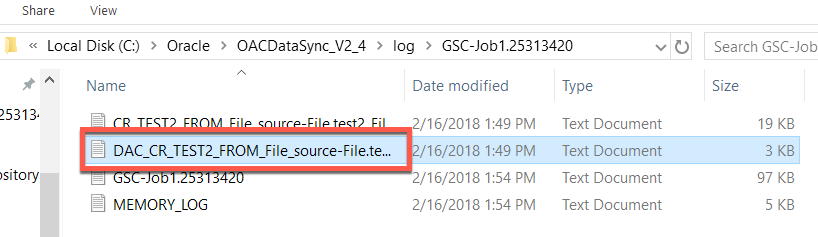
To note, if you are trying to debug your failed loads, the following file was key for me and helped me navigate my way towards the correct settings.
For proof, my one line of data loaded!