
If you are logging into OCI CLI and trying to run a script, but are getting a “NotAuthenticated” error, here’s what it likely means… You likely have more than one tenancy or you can log into your tenancy with more than 1 user assigned to you. This error occurs because the config file on your machine for OCI CLI is for another tenancy and/or user.
Some basics…
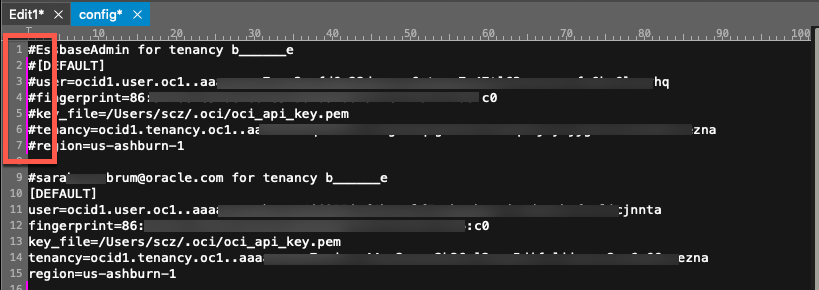
This is what your config file looks like when opening in a text editor:

[DEFAULT] -> the OCI config entry name. This one is created by default (duh).
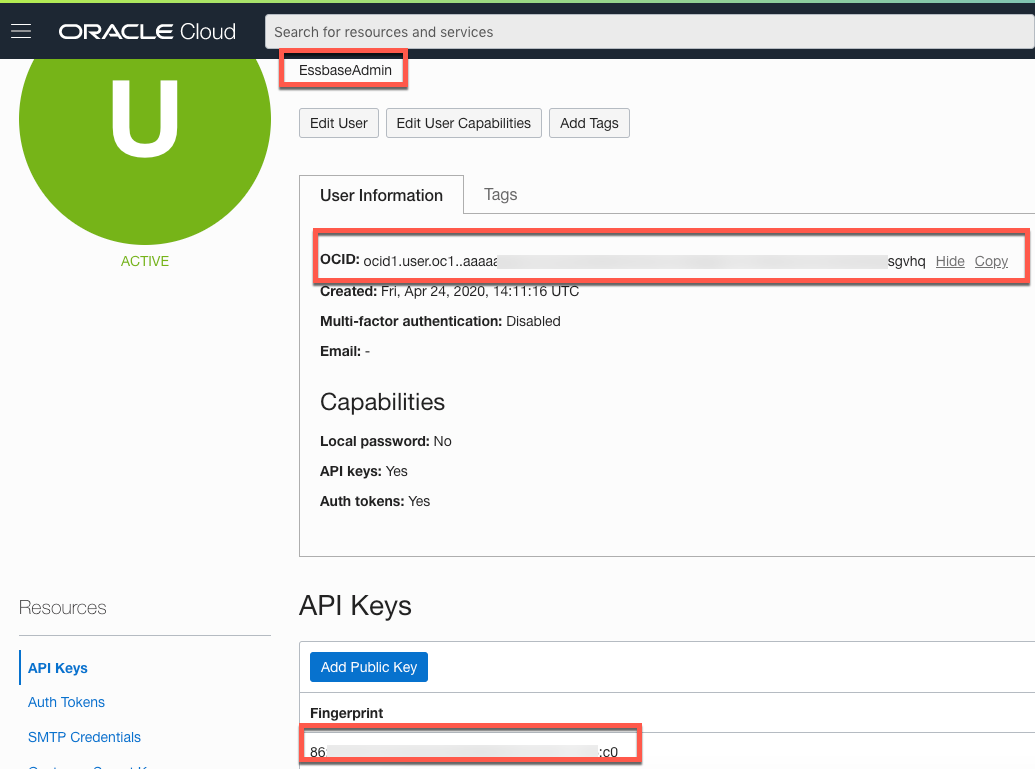
user= -> the OCID of the user logging into a tenancies OCI. This can be found on the user’s details page in the OCI Console online.
fingerprint= -> the fingerprint of the API Public Key that was added to the user’s account. Not all users need a fingerprint! If they are just logging into the end applications (Essbase, OAC, etc), they will likely not need a fingerprint added.
key_file= -> the location of the certificate you created when you initially configured OCI CLI. Usually, this directory does not change. Reminder of OCI CLI setup instructions located within here.
tenancy= -> the OCID of the tenancy you are accessing.
region= -> the OCI region of the tenancy you are accessing.
To obtain your user OCID and fingerprint, you can find them on your user details page. If you have not created a public API key, you can add one from this screen.
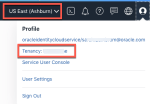
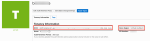
To find your tenancy OCID, click on the “man” in the upper right-hand corner and click on your tenancy name. BTW, this is also where you can see within what region your tenancy is installed.
The config file is just a repository of details for a particular user and tenancy that is like a retina scanner or fingerprint scanner (pun intended if you see below). A key concept of OCI is the concept of an OCID, or Oracle Cloud ID. You will not have the same user OCID across tenancies based on, say, an email address. I, personally, have around 10 tenancies I access currently and have around 15 user OCIDs I maintain (email and local users). It’s basically saying just because your name is John Smith doesn’t give you rights to every instance containing a John Smith name. This is good for security! But can be tedious for us managing environments. But here are some hints for managing the various user and tenancy details for your OCI connections.
- Create multiple entries in your OCI config file. To comment out a line, enter a pound sign (#) in front of the line to rem it out. You will notice that both lines contain the same fingerprint. The fingerprint is loaded from your local certificate (.pem) file on your machine, hence why they are the same. For example, below I’m commenting out my EssbaseAdmin credentials in favor of my email credentials. The only thing that needs to be changed is the user OCID if using the same computer and tenancy.
- Play the config file rename game.
 Not recommended as I really don’t like renaming required files, but you can do this as well. OCI will still only pull the “config” file for usage.
 - Finally, if you have a SDK that supports profile inheritance, you can have multiple entries. Below is an example of what the config file may look like. The key pieces are the admin key_file and the passphrase created for that key if it was encrypted.
 More details can be found here.


