
Earlier this week I started looking into map layers in DVD. I got too far down the rabbit’s hole and ended up creating my own, never having worked with spatial data before. I’m certainly no expert, but I found it easier than I thought (and harder…). In this example, I’m creating a map layer of California cities. I need to give credit to Wayne Van Sluys for pointing me in the right direction for this task. Thanks, Wayne!
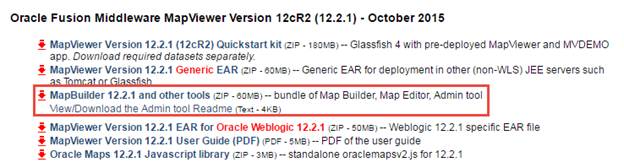
1. Since DVD uses geoJSON files, I needed a tool to convert my map shape file to a JSON file. To do this, first download MapBuilder from Oracle via this link: http://www.oracle.com/technetwork/middleware/mapviewer/downloads/index-100641.html and choose the highlighted option below.
2. Once the zip file was downloaded, I extracted the files to my desktop. The one I want to use is “mapbuilder.jar”.

3. When I double-click on the jar file, Map Builder opens (which looks eerily similar to Essbase Admin Services console…).

4. There are many sites you can use to download shape files, but I chose http://scec.usc.edu/internships/useit/content/california-cities-point-shapefile for my project.

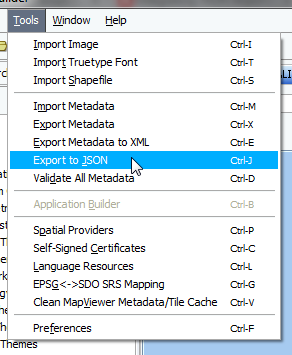
5. Now we want to convert our downloaded file to JSON. From the Tools bar, choose “Export to JSON”.
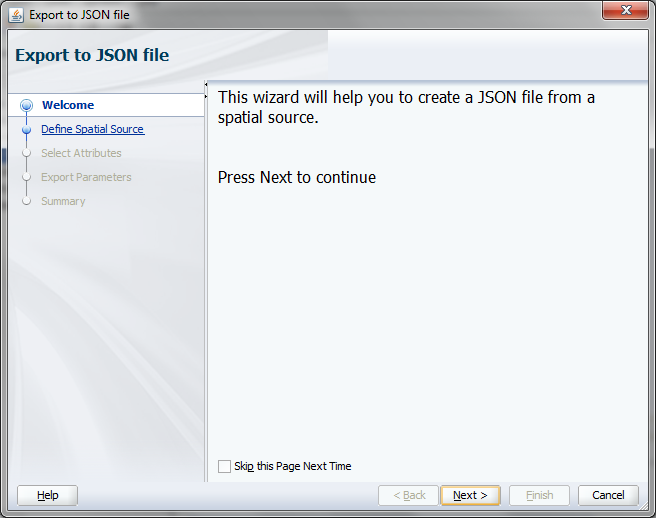
6. You will be shown a wizard to convert the file. Click “Next”.
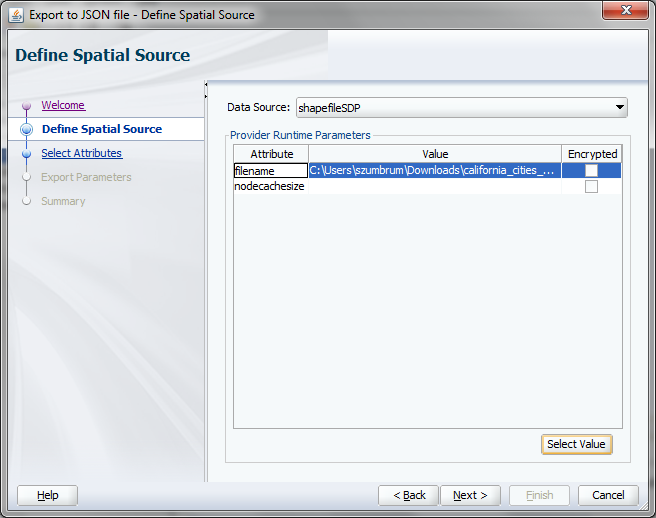
7. Choose to convert a shape file from the Data Source list.

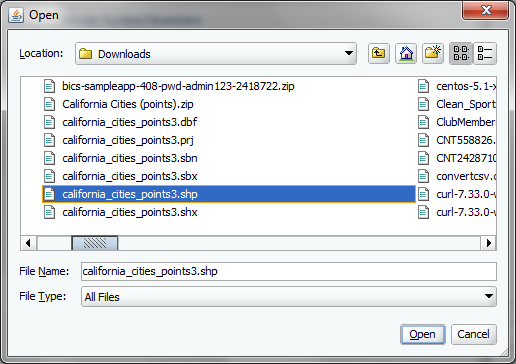
8. Click in the “Value” field and choose the .shp file that you just downloaded.
9. Click “Next”.
10. Choose all fields to export to JSON.

11. The Target SRID field (and Source SRID field) will auto-populate. Choose where you want to export your JSON file to in the directory.

12. You’ll see a Summary page. Click “Next”.

13. You’ll see your file in the location you specified.

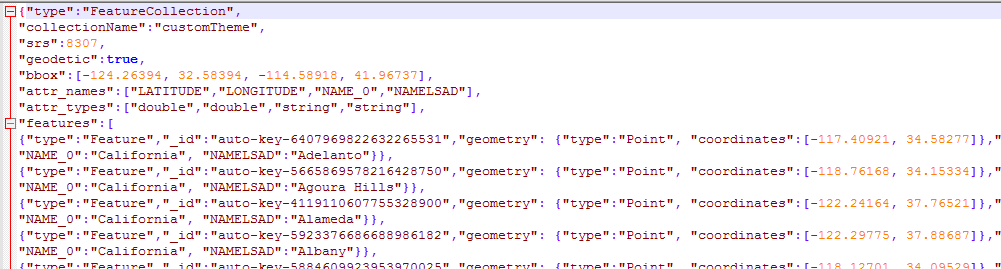
14. If you open the file, you will see the JSON format.
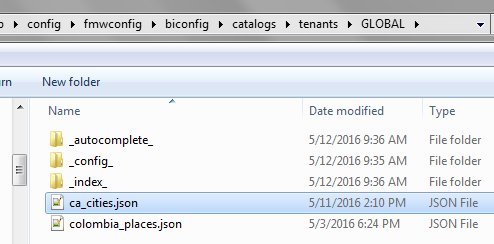
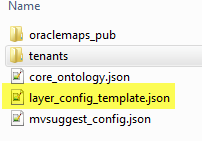
15. Move this file (and rename it, if needed) to the following location:
C:UsersusernameAppDataLocalTempDVDesktopconfigfmwconfigbiconfigcatalogstenantsGLOBAL
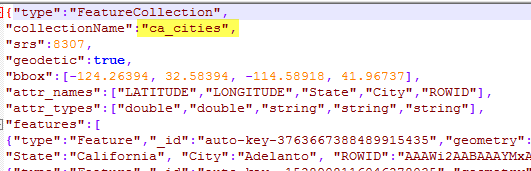
16. Open the file and rename the CollectionName to what you want the layer called. I chose “ca_cities”.
17. Next, a .config.json file needs to be created. You can use the template located at:
C:UsersusernameAppDataLocalTempDVDesktopconfigfmwconfigbiconfigcatalogs
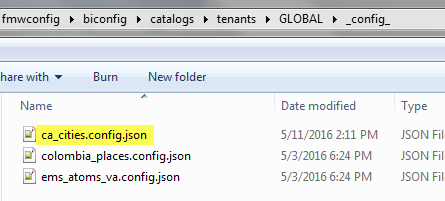
18. After modifying this file to your new JSON file, place it in the following location:
C:UsersszumbrumAppDataLocalTempDVDesktopconfigfmwconfigbiconfigcatalogstenantsGLOBAL_config_
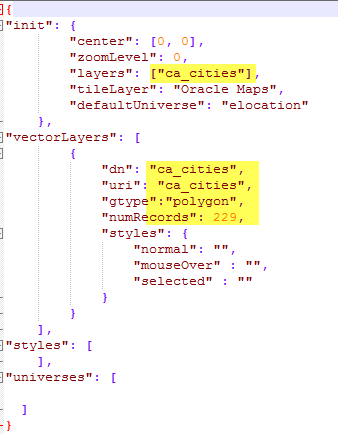
19. It should look similar to the following. Note that I initially changed the highlighted fields. The other fields may need to be modified to display the layer correctly.
20. When you restart DVD, you will see your map layer in the list.

21. When I apply my layer, it shows! Although not correctly. 🙂 Some details will need to be addressed in the JSON and config.json files, but it shows and works!


Hi Sarah, is it possible to have custom map layers in DV Cloud version? How to upload them and configure in the DV cloud instance?
No, no custom maps in DVCS. However, you can create custom maps in BICS Answers, DVD, OBI Answers and DV, and in OAC Answers and DV.